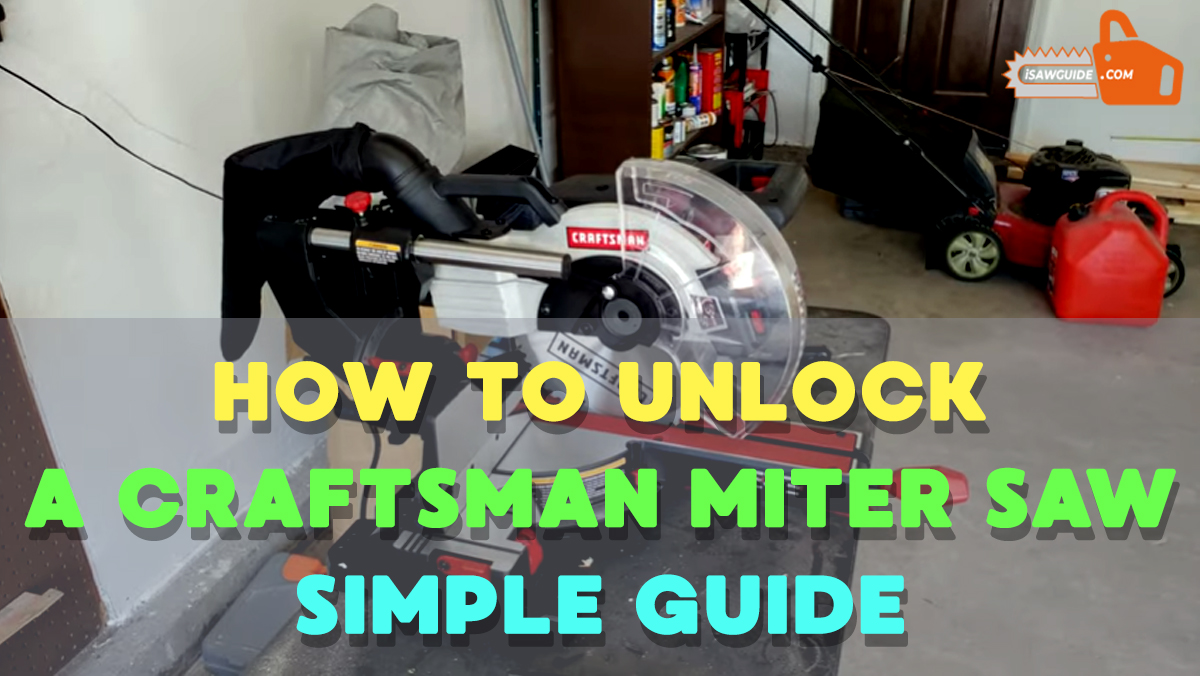
Unlocking a craftsman miter saw model 137, and doing it properly are two things that many users still do not know. It is every user’s fundamental responsibility to understand how to unlock a craftsman miter saw adequately. The lock pin on the device is a safety feature and is where it all begins for you.
The craftsman miter saw is well known for making precision cuts and its marvelous cutting power. It gives users a comfortable cutting experience with the design of a double lock intended partly for that.
The locks work hand in hand with the blade guard to provide safe and more convenient storage and transportation. The lock pin locks the blade in a protected position to preserve it and to avoid accidents. Like any craftsman miter saw review would tell you, it should be in this position during storage and transport.
Unlocking this power-tool the right way can prolong its life and save it from possible breakdowns. You cannot claim to know how to use a craftsman miter saw if you don’t know how to unlock it appropriately. To help you learn this critical idea, we are here to show you how.
After reading this, you should be able to demonstrate on a craftsman miter saw how to unlock it.
Simple Step by Step Guide on How to Unlock a Craftsman Miter Saw
")
1. Locate the Lock Pin
In most of these miter saws, lock pins are located on the right side of the hanging mechanism. Look on the side opposite the blade, so that you can even manipulate it when the miter saw blade won’t turn.
In most cases, when you fold your craftsman hand miter saw, it will automatically lock into position.
In typical woodworking miter saw, you will find two different locks located in separate positions and that serve different purposes. Together, they keep various craftsman miter saw accessories in place while you move the saw.
Likewise, they keep it aligned between uses even when the miter saw stopped working.
The first lock used to control the blade’s up and down movement is located at the tool’s back. The second lock used to manage the angled change is located on the front side of its arm. Undoing the locks is a quick and easy process being that is standardized across different miter saws.
Generally, the craftsman miter saw 7 1/4 have a knob and a pin at the part used for locking and unlocking it. The knob is found at the end of the pin, and it is what you will use to release the lock. Adjust the lock by pushing or pulling the knob until the necessary action occurs.
2. Maintenance
Now, before unlocking it, a little miter saw lubrication or cleaning on the pin is necessary. The locking pin has oiled grooves that often collect sawdust, and need cleaning just before unlocking. Therefore, before opening, use a toothbrush to clean the grooves to prevent the pin from getting stuck.
3. Unlocking the Head
Unlock the head of your old craftsman miter saw by first putting some pressure on it. Look for the knob designed to hold certain craftsman miter saw parts together and pull it out. By just pulling it gently, the head should be unlocked because the miter saw won’t rotate without it.
Unlocking the head of a sliding compound miter saw is slightly different from this. Unlike in other miters, a sliding model has a lock on the slide that you loosen to unlock. When you loosen it, the mechanism will move freely back and forth even if the miter saw hard to slide.
4. Unlocking the Table
The unlocking process does not end with the head, with the table being the next in line. There is a visible knob usually integrated into the base for unlocking the table or base. Loosening the knob will allow you to move the bottom of the tool and find the right angle.
Most new miter saw models show commonly used angles correctly marked on them. There are preset angle positions such as 45 and 90 degrees to make finding the right angles more straightforward. You align the rotation section of the base with the static one that contains the angle calibrations.
When you are unlocking a Craftsman miter saw, you need to hold down the switch handle slightly. The next thing to do is pull out the hold-down directive latch. It will make the cutting head to rise to an upward position gently, and it happens automatically.
There is a guard put in place to cover the blade for the sake of your safety when you unlock it. Therefore, you can open the miter saw and release the blade and still be safe at any point. As the blade lifts, the guard should be covering it well if there is nothing wrong with it.
However, at times when you unlock the head, the blade may lift without the guard covering it. This may mean that the miter saw stuck in up position, and you have to do something about it before it is too late. That is a sign that it needs cleaning so that it can freely move with the blade once again.
5. Angle Locks
On the saw’s front, you will find two locks used to control the angles. The horizontal knurled knob which locks the swivel action of the blade can be used to unlock it. Underneath the knob, there is a lever that locks the presets for the ordinary angles.
The knob and the lever work simultaneously to keep the device locked at various angles. Unlocking the swivel action of the blade requires you to rotate the knurled knob. Loosening the knurled knob will open the workforce miter saw while tightening the same knob locks it in place.
You can depress the lever using your index or middle finger to release the already set angle lock. Because the lever is spring-loaded, you should apply mild force when lowering it. You should also not apply a force that is too weak to depress the gear since it might not respond.
How to Unlock a Craftsman Miter Saw for 3 Different Cutting
1. Miter Cut
")
When you want to make a miter cut, turn the miter handle counterclockwise to unlock the miter table. Hold the miter handle firmly and lift the positive stop locking lever just next to the knob. Now rotate the miter table to the left or right with the miter handle.
When the table is in the right position, release the positive stop locking lever, as shown in the craftsman miter saw manual. Then tighten the miter handle to secure the table at the desired angle with positive angle stops provided.
The various angles provided include 0, 15, 22.5, 31.6, and 45 degrees. Every time before you perform the cutting operation, make sure you tighten the miter table lock handle.
2. Bevel Cut
When you need to make a bevel cut using a craftsman 10 miter saw with stand, the operation is slightly different. Turn the bevel lock handle clockwise to loosen it, then tilt the blade’s cutting head to the desired angle.
When it is in position, anywhere from 0 to 45 degrees, tighten the bevel lock handle. It would be best if you unlocked the carriage lock handle when you want to slide cut wide boards before you proceed. That way, you will allow the cutting head assembly to move freely to set the desired bevel angle.
Set the right miter angle before you lock into position and hold down the clamp to secure your workpiece.
3. Compound Cut
A simultaneous combination of a miter and bevel cut is referred to as a compound cut. If you want to make a compound cut, you need to loosen the bevel lock handle. Position the saw’s cutting head at the desired bevel position then lock the bevel lock handle.
Loosen the miter handle, then lift the positive stop locking lever to move the table. Then proceed to position the table at the required angle or at an angle that you desire. Finalize by releasing the positive stock locking lever then lock the miter handle to complete the process.
Several underlying problems may interfere with the functioning or operation of the miter saw. When the craftsman miter saw laser not working, open the laser plunger housing to check the source of the problem. Before you make any craftsman miter saw blade change, you should remember to disconnect the miter saw.
Final Verdict
Like you have seen, unlocking the craftsman miter saw 7 1/4 is not a complicated process as you might have thought. For a beginner, everything may seem difficult even when they are not like we have seen here. Even so, you should not underrate the process since it must be done right to avoid accidents.
It would help if you did not neglect the risk while readjusting the machine so that you do not end up being hurt. Not that you know how to unlock a craftsman miter saw, you should focus on doing it right every time to avoid complications, injuries, or breakdowns.
You May Also Read:
1. How to Unlock a Miter Saw – Hands-on Step by Step Guide
2. How to Unlock a Dewalt Miter Saw – 10 Steps Easy Guide
3. How to Unlock a Ryobi Miter Saw – Common Problems Solved
Table of Contents